
Before You Upload
Restoration only works as well as the photo you give it. The better your digital copy, the better your result — at every tier.
The best way: use a scanner
If you have a flatbed scanner — or an all-in-one printer with a scanning lid — use it. Scanners capture photos evenly, without glare or angle distortion, and produce clean files at 300 DPI or higher. That's the ideal starting point for any restoration.
If you're not sure whether your printer scans: look for a flat glass panel on top that lifts open. Most home printers made in the last 10 years have one.
No scanner? Use your phone — carefully
You can photograph a photo with your phone and get good results, but it's easy to accidentally introduce the problems shown in “What to avoid” below: glare from a flash, a slight angle that warps the edges, blur from an unsteady hand. The tips below help you avoid all of them.
Do ✓
- ✓Lay the photo flat on a neutral surface
- ✓Use soft, even light (window light works great)
- ✓Fill the frame with the photo — get close
- ✓Shoot straight-on, directly above
- ✓Crop out borders, album backgrounds, and tabletop edges before saving
- ✓Rotate the image right-side up before uploading — that way our restoration focuses entirely on healing the photo, not figuring out which way is up
Don't ✗
- ✗Shoot at an angle (makes the photo look tilted or warped)
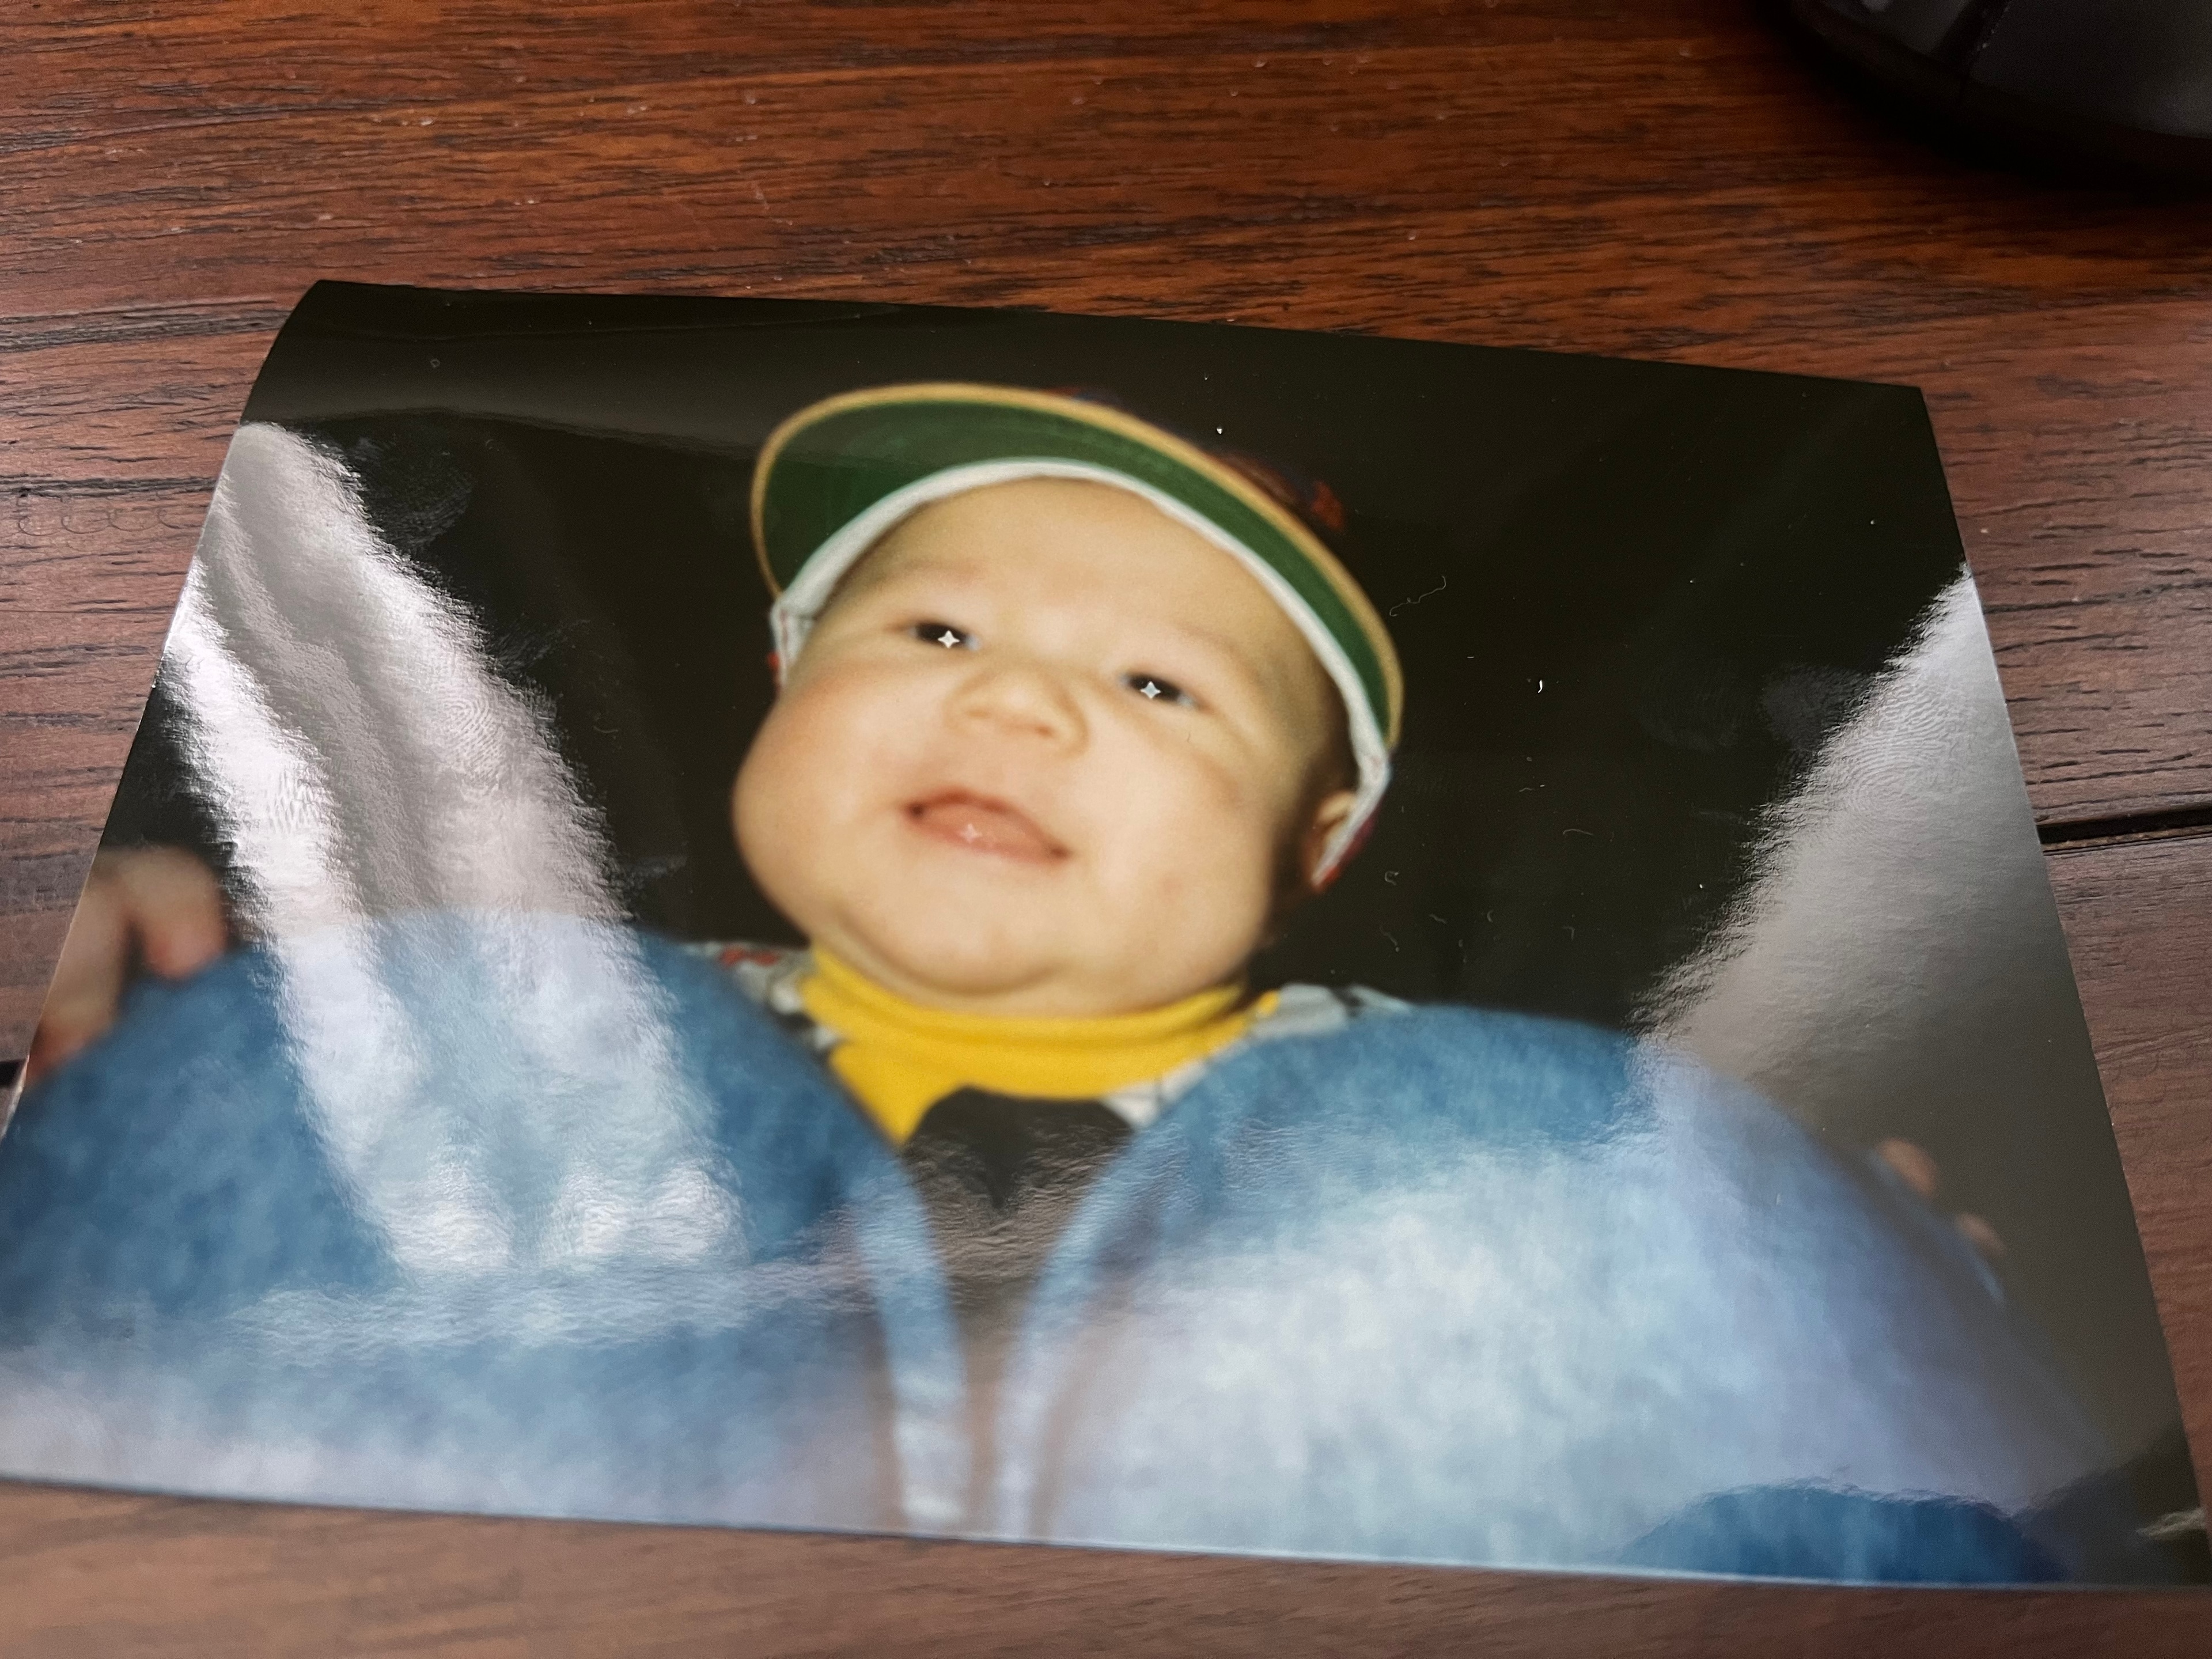
- ✗Use direct flash (creates glare and hot spots)
- ✗Photograph curled or warped photos without flattening them first
- ✗Leave large empty borders around the photo
- ✗Upload blurry or out-of-focus shots — they cannot be sharpened back
What to Avoid
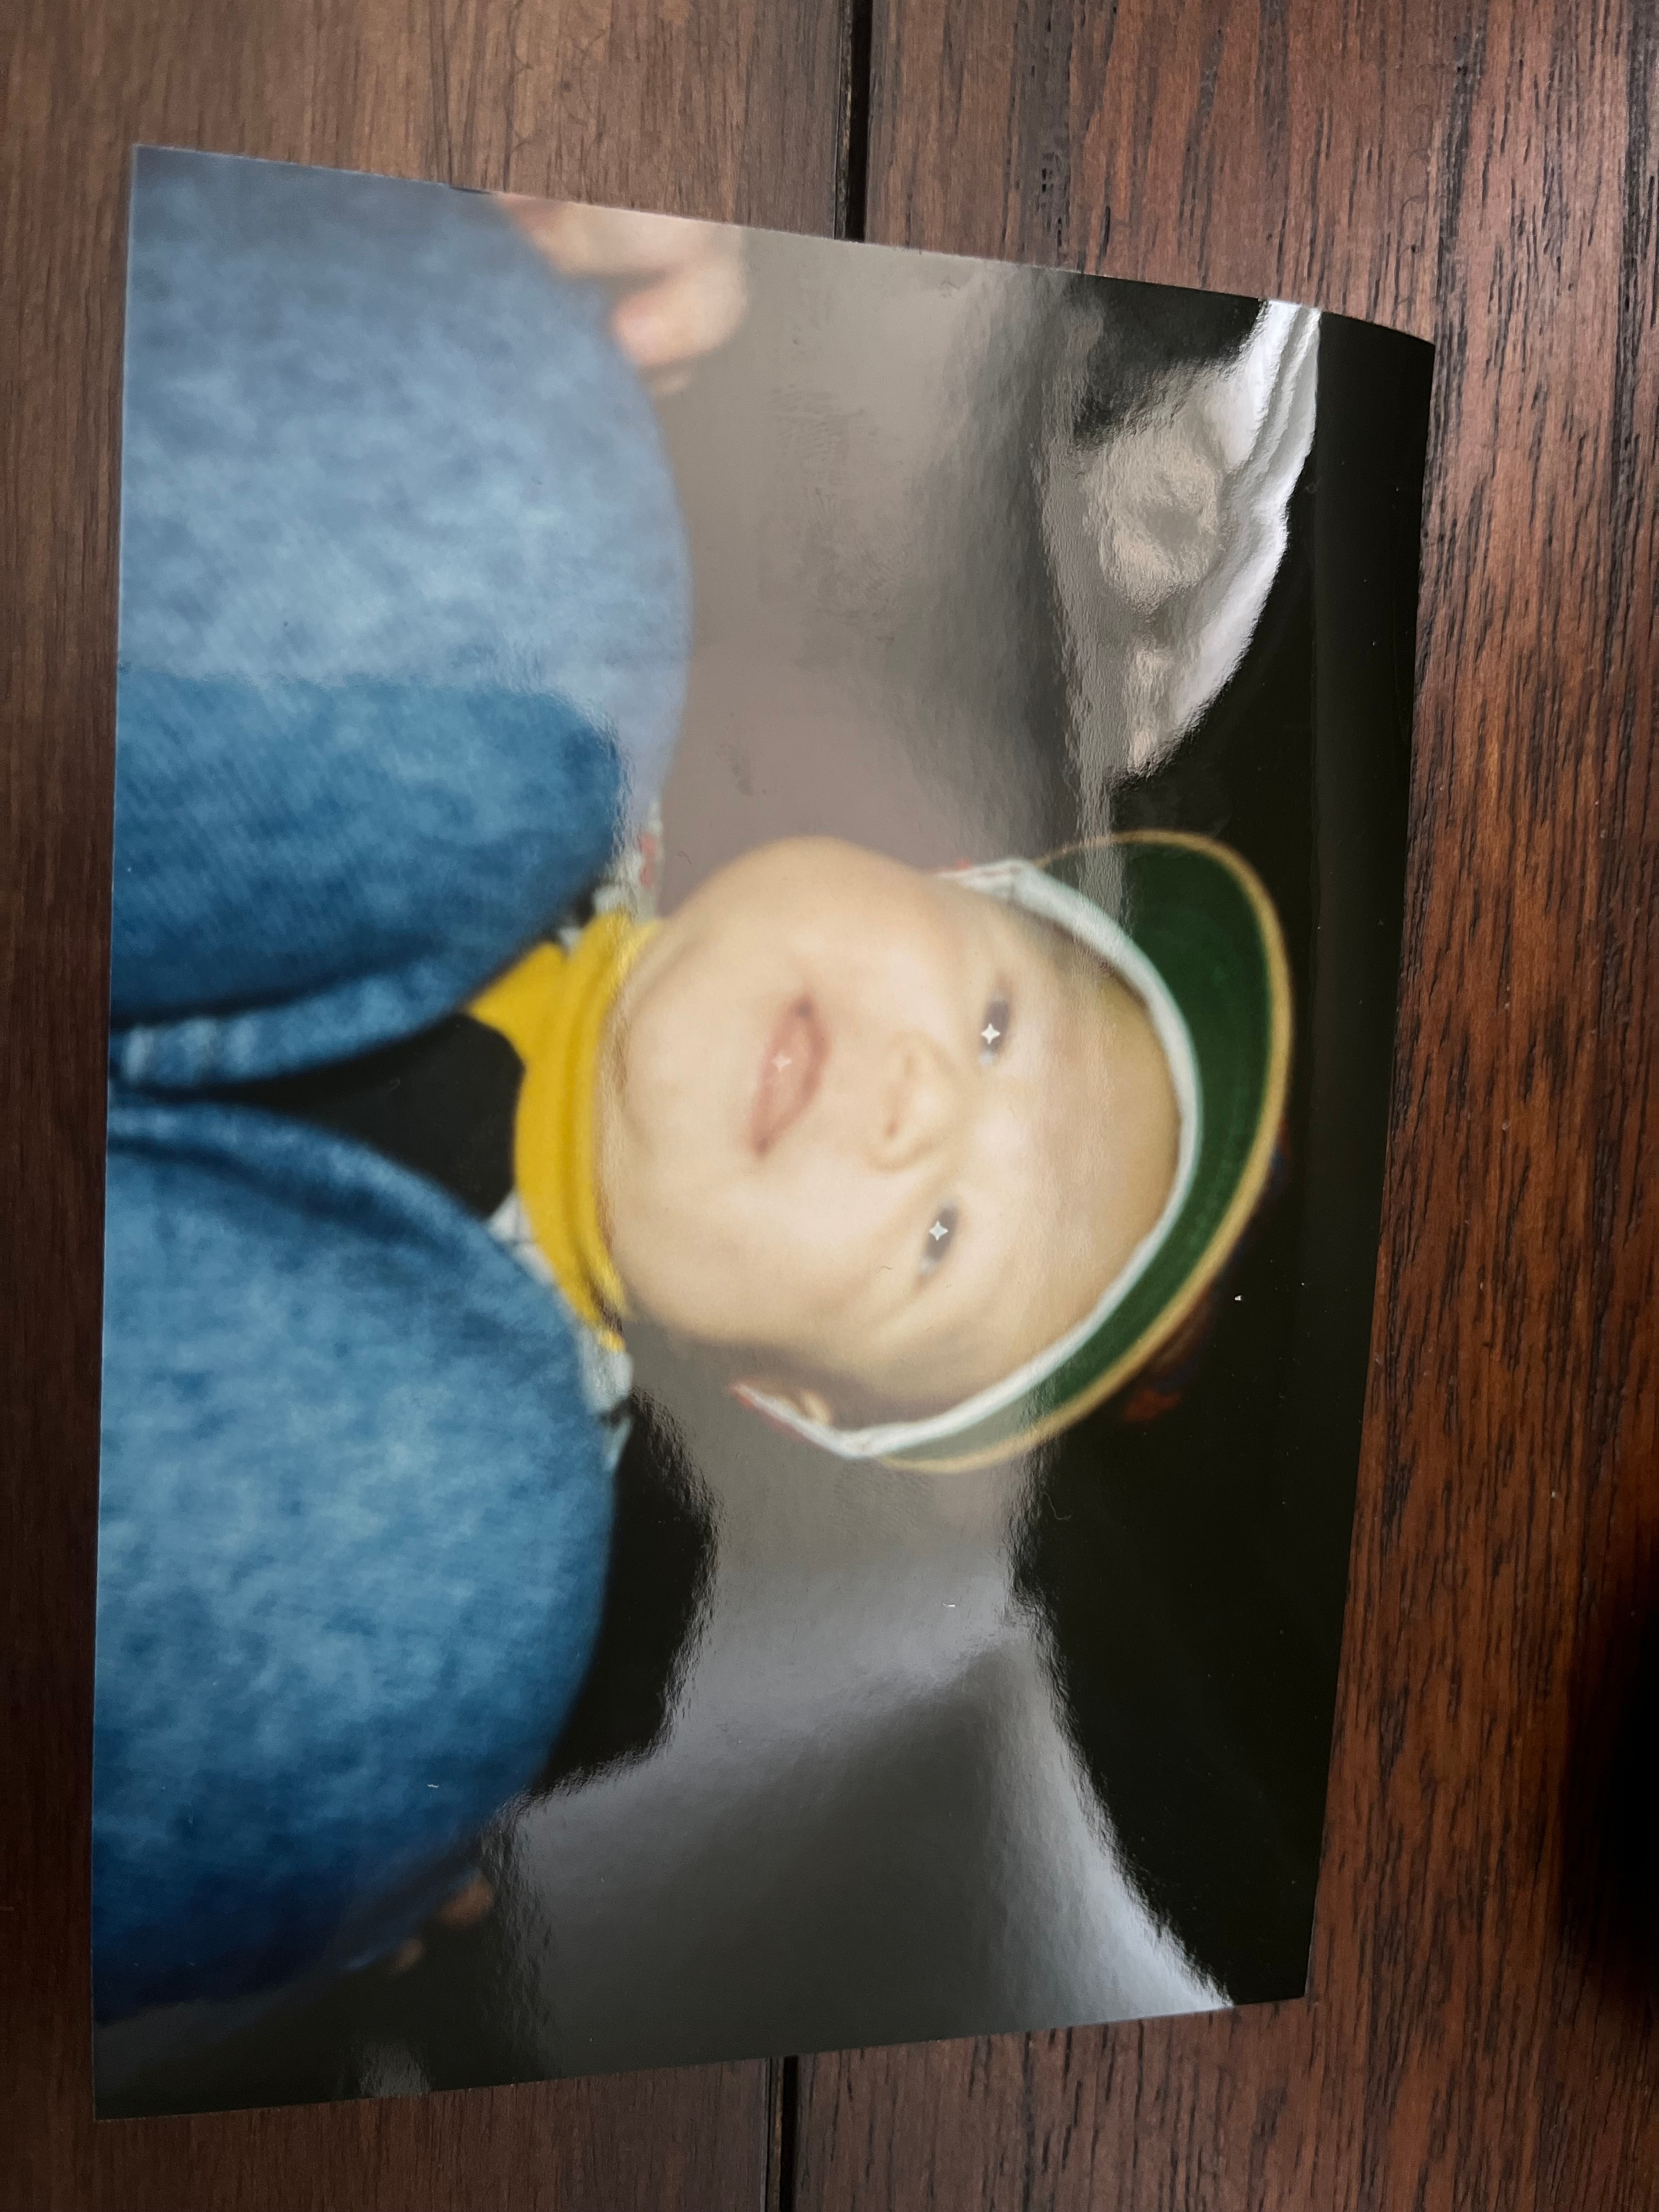
Glare
Angle
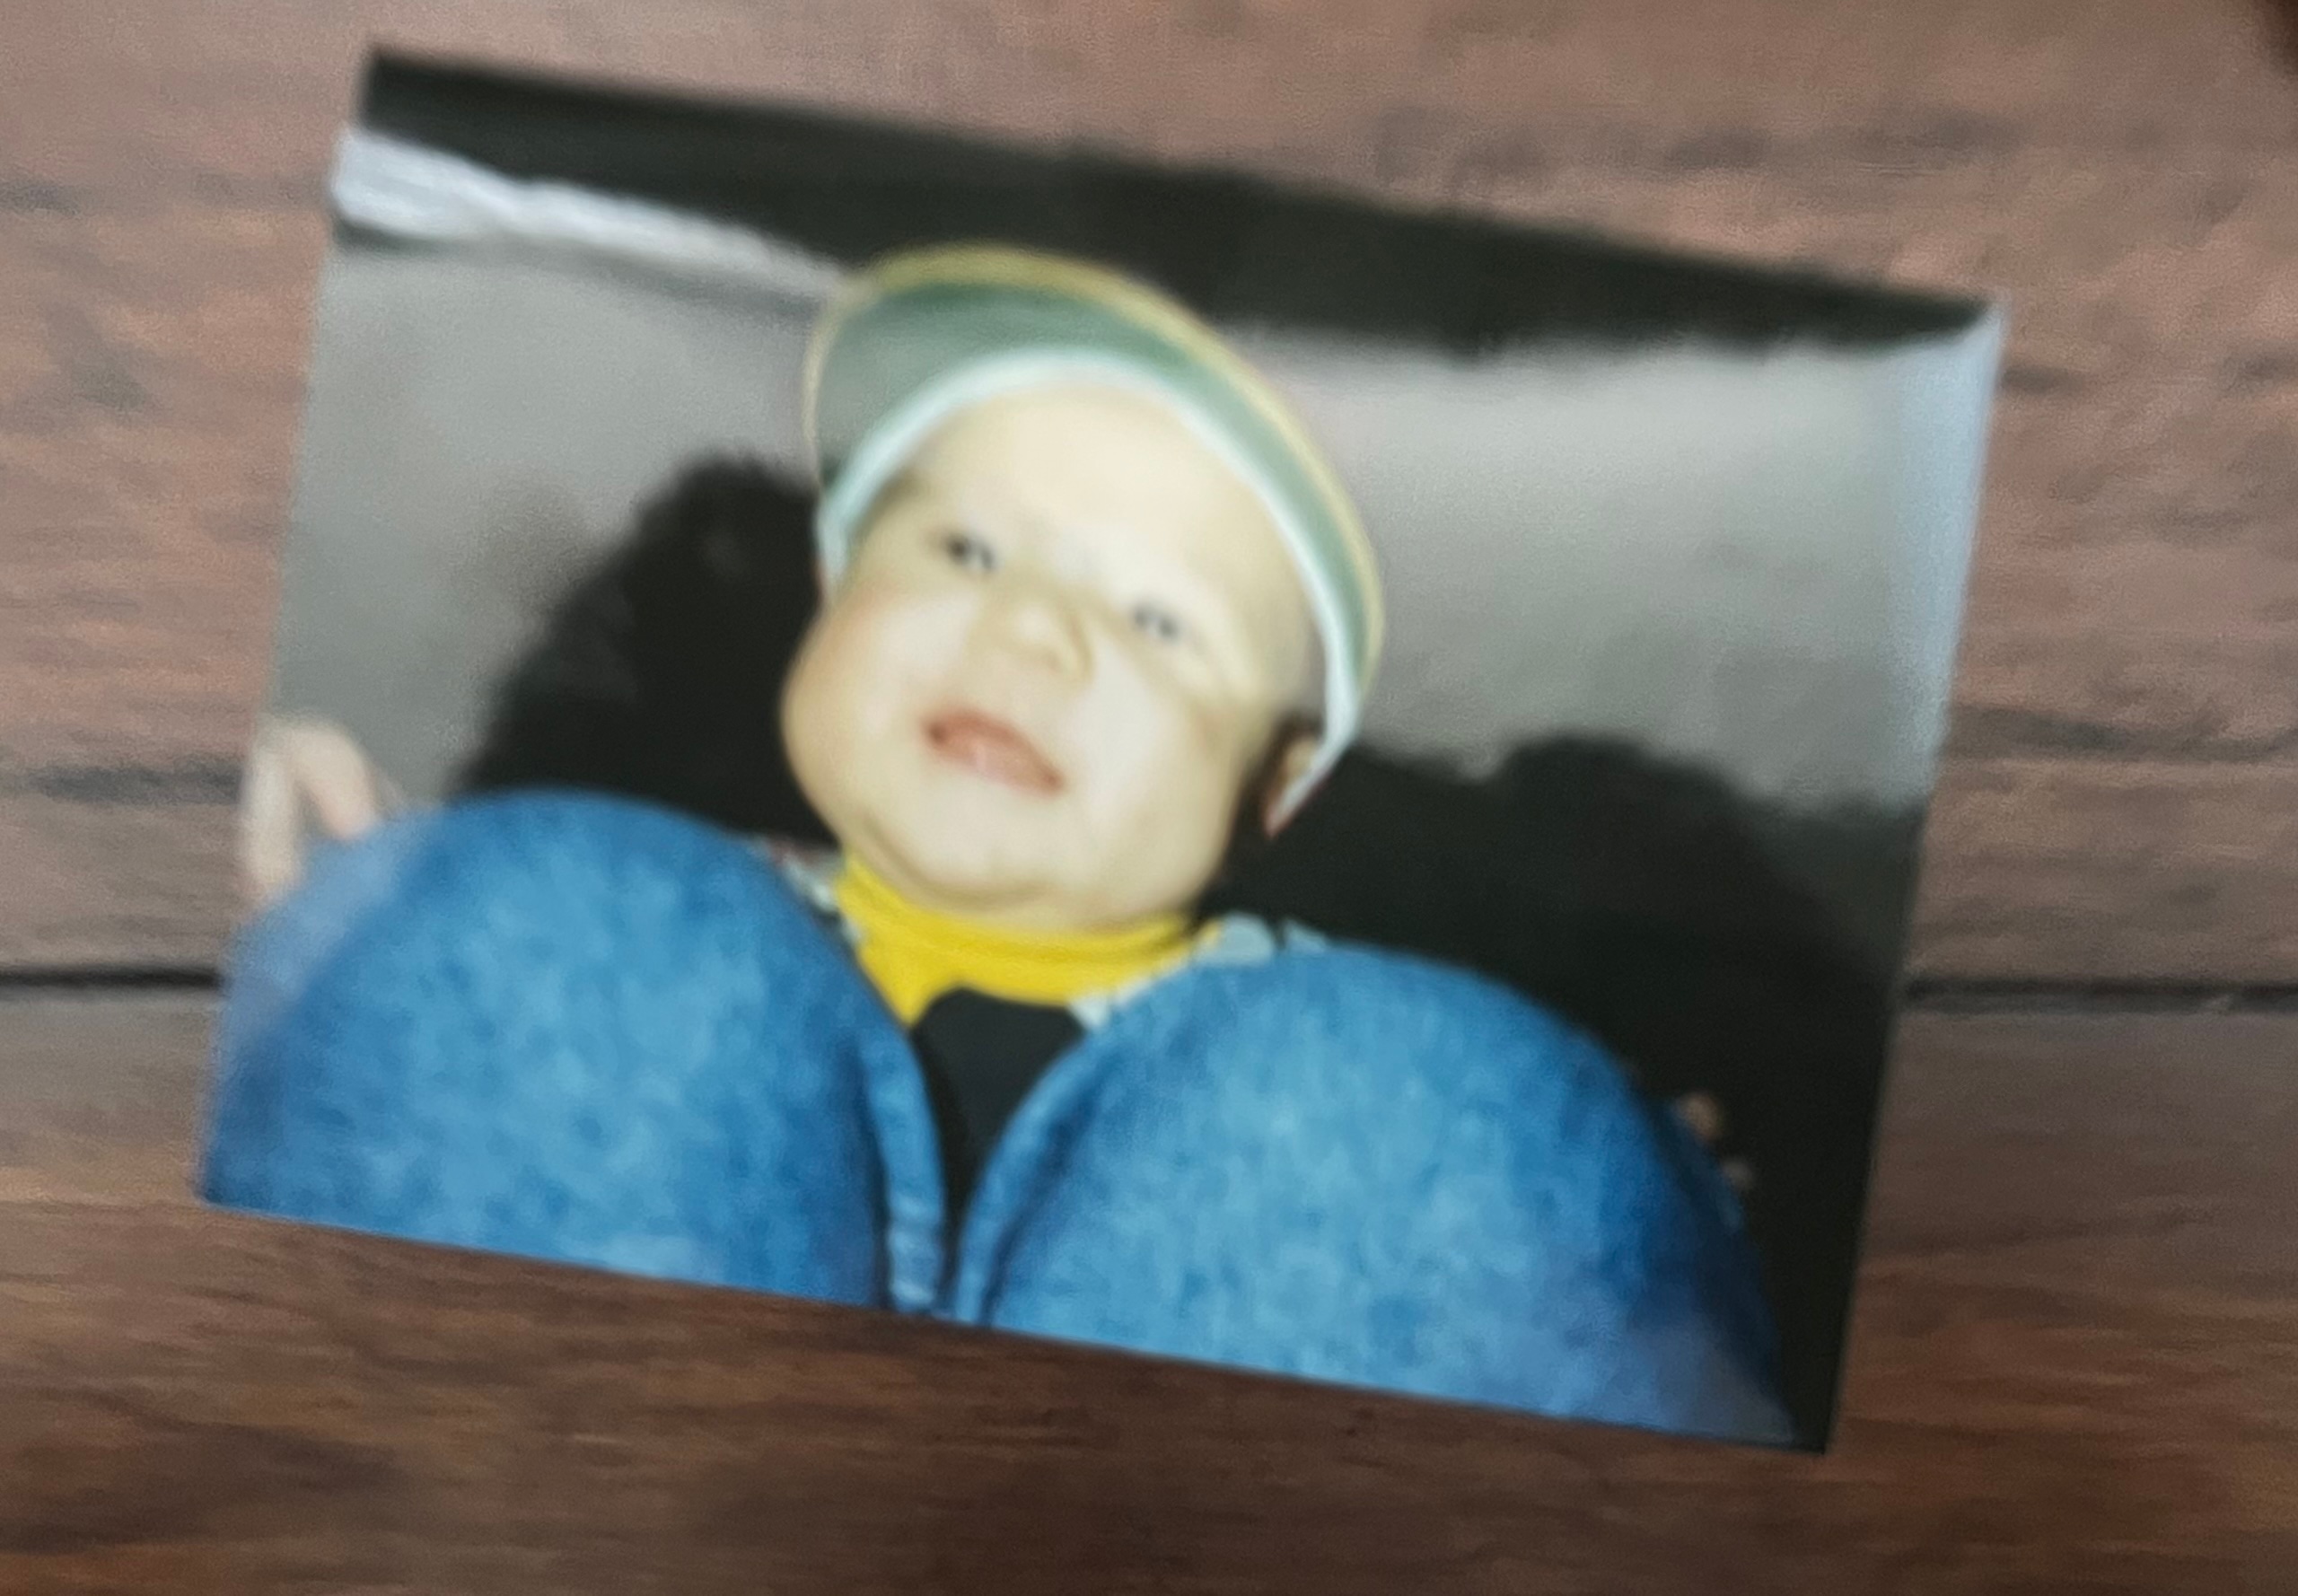
Blur
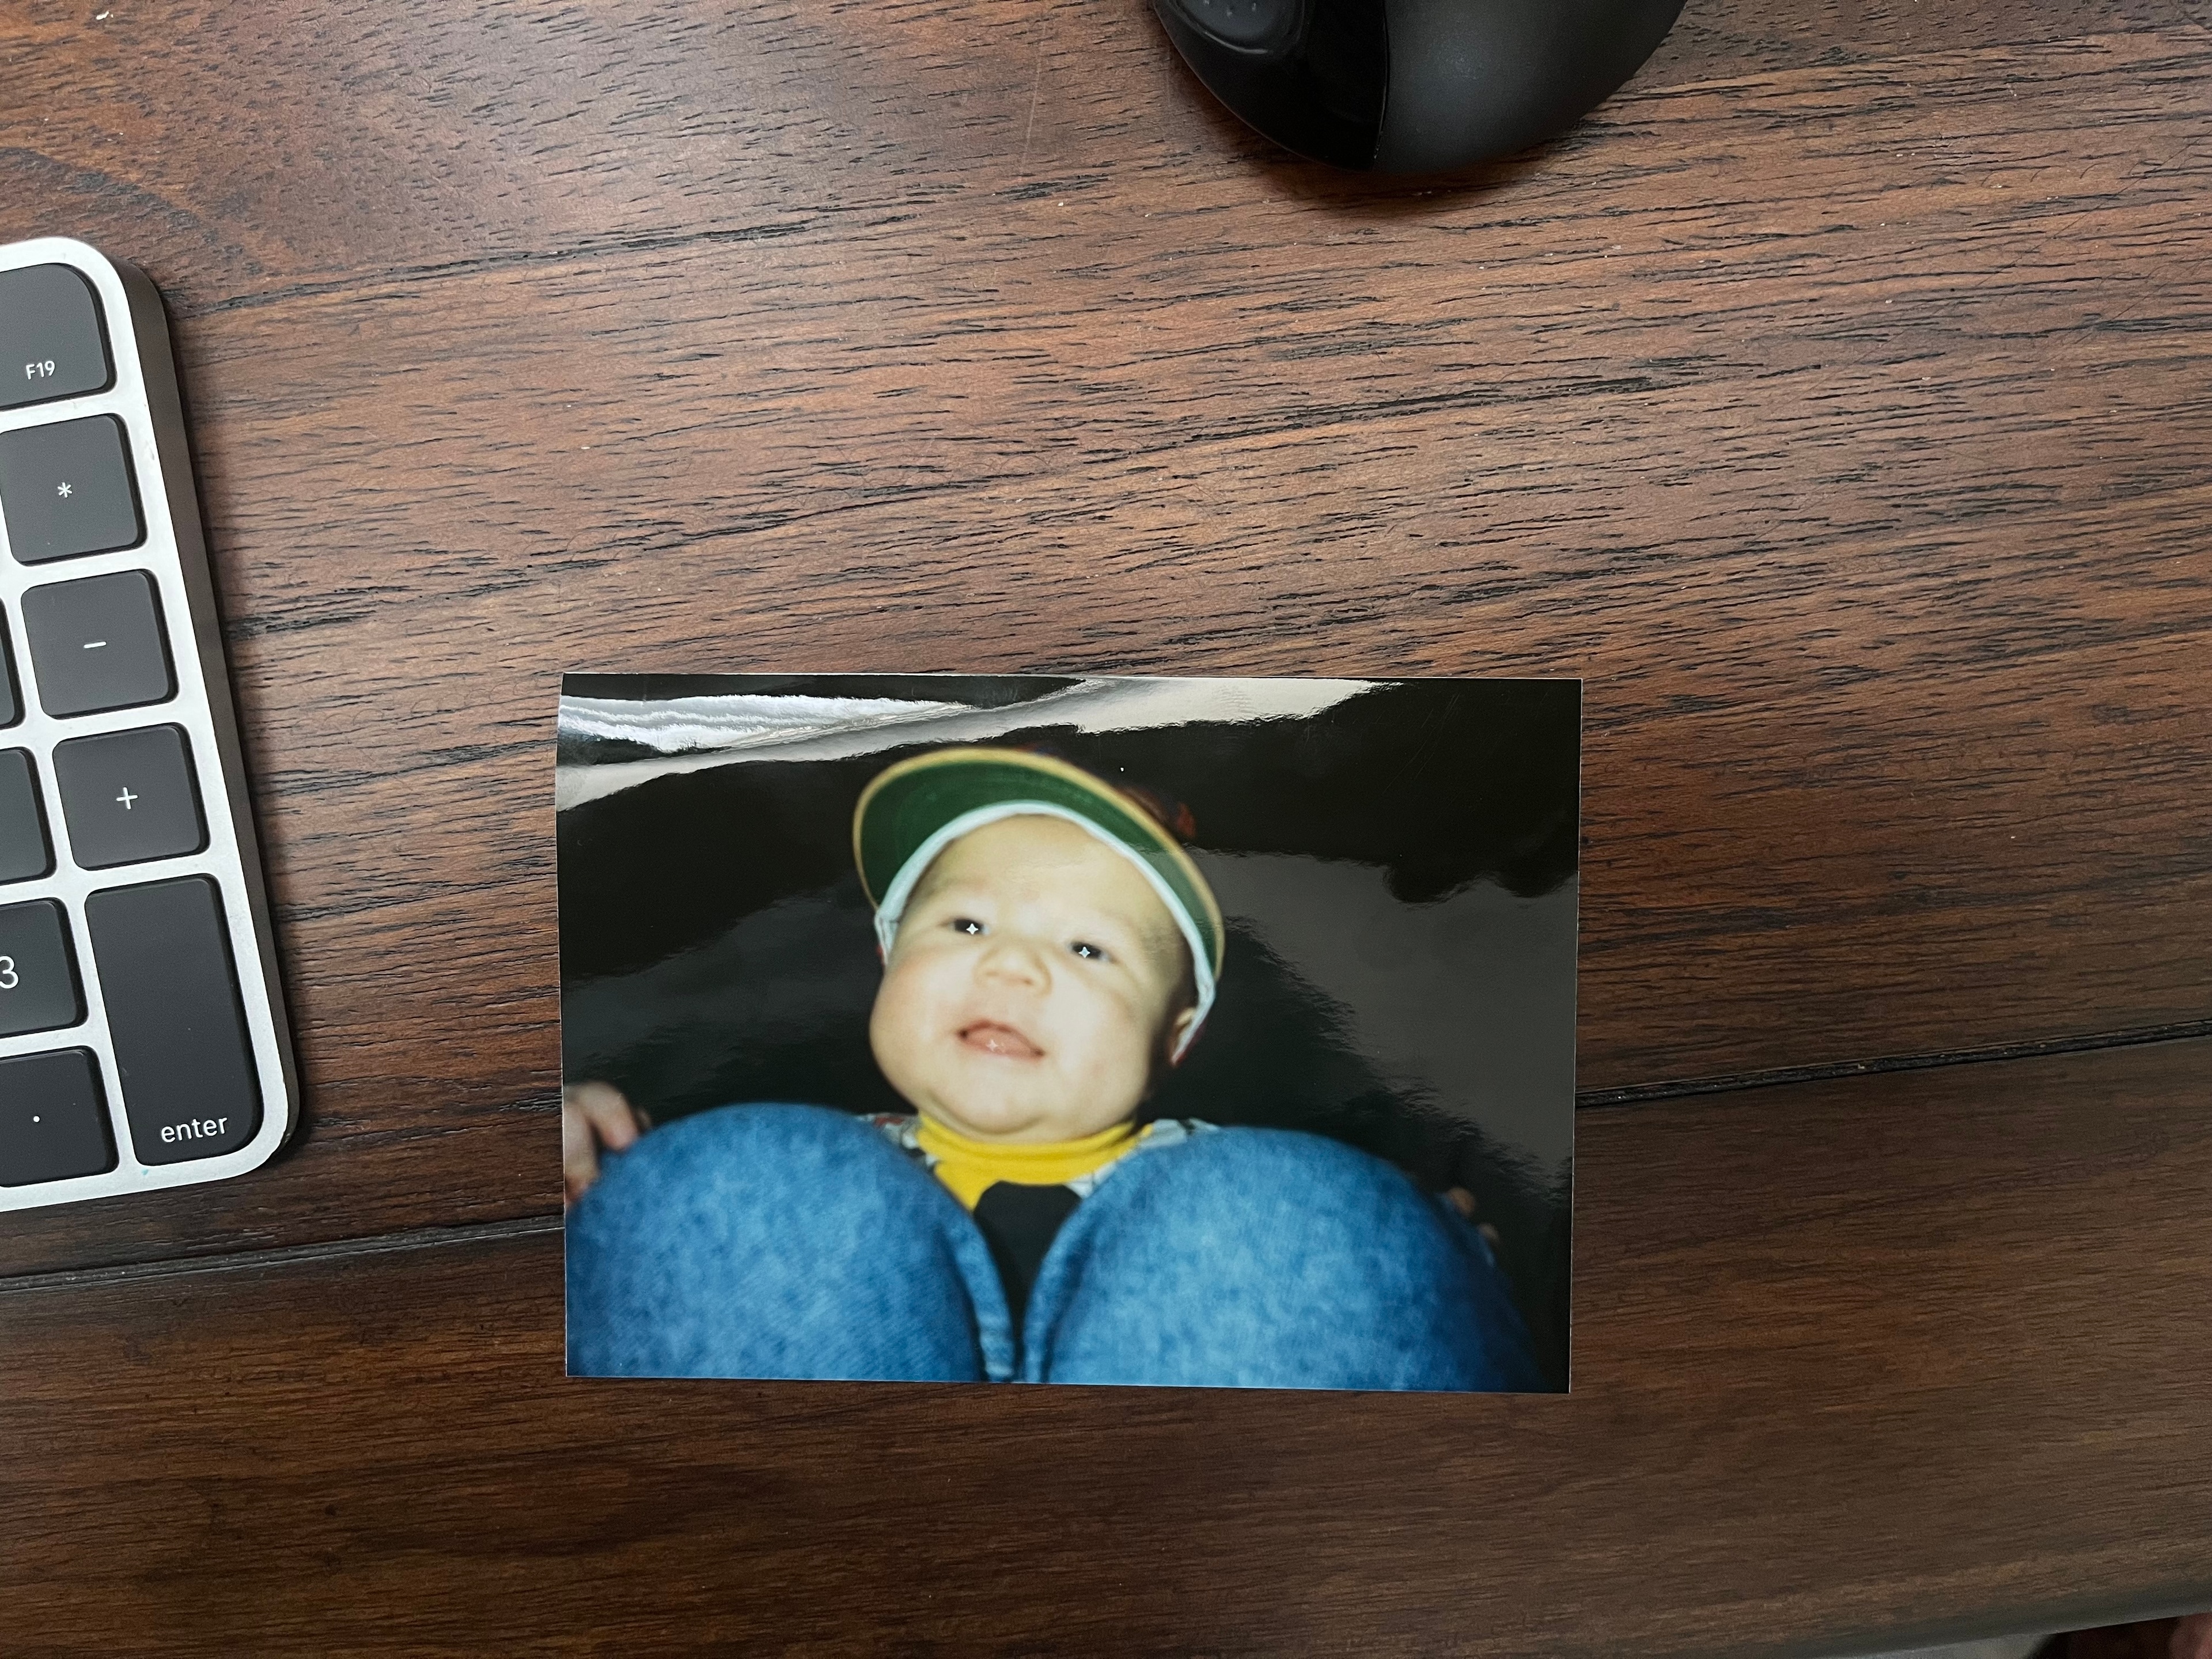
Borders